

Beeswax Pillar Candle - Round - Fall Scents
$17.00
(No reviews yet)

Write a Review
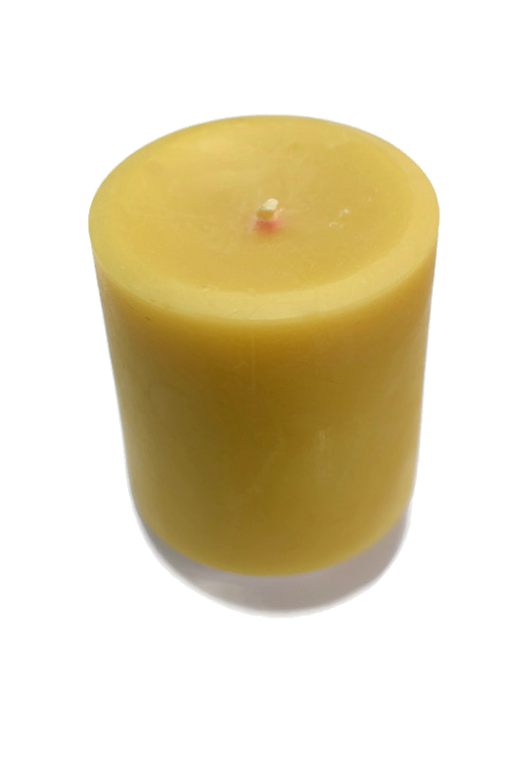
Beeswax Pillar Candle - Round - Fall Scents
Beeswax is the ultimate in bright, long-lasting candle wax. I hand pour each and every pillar to ensure quality from beginning to end. I use refined yellow for nearly all of the candles, with the exception of Macabre, and a few other select signature blends. For those which require color, I use fully refined white beeswax instead to ensure pure color without a yellow hue.
Each 12 oz candle is 3 inches in diameter and 4 inches or so tall, and burns for approximately 90-100 hours, depending on how well you manage your wick. We try to keep our flames at about 1" tall. If taller, hug the pillar or trim that wick! If shorter, let it burn. I check on the burn of my pillars every hour or so to ensure a perfect burn and prevent accidental blow outs.
Hugging:
I like my candles to consume every drop of wax, so "hugging" is part of my routine. When the melted pool of wax is about 1/4" from the edge, I gently pinch around the candle to help the walls melt inward. This deepens the melt pool temporarily and shortens the flame. If done right before extinguishing it will be prepared to light the next time for a beautiful long burn.
Manufacturing of Beeswax Pillars:
Beeswax pillar candles go through many steps from the bee to you. Every candle is handled a minimum of 6 times in the process!
1) First, each mold needs to be prepared with a wick and a bit of non-stick spray. Without spray the wax would stick in the mold forever. It is NO FUN when that happens.
2) After melting the wax the the right temp, it is measured, scented (and colored) as needed and poured into prepared candle molds. When full, each candle is allowed to cool very slowly. Cooling too quickly can result in cracks or other imperfections.
3) Beeswax shrinks a LOT as it cools. In the process air cavities form within the candle which must be opened and filled. I use a long, thin skewer to poke all around the wick to expose the pockets, then pour molten wax until each hole is completely filled. Sometimes the fill process must be performed several times.
4) Once cooled and inspected for a second time the candle is removed from the mold and allowed to fully cool.
5) When totally cold, each candle wick is trimmed to the proper length, and leveled on a flat hot plate. The wick is also primed at this point so it lights easily for you.
6) When all cold, again, it is labeled and packed in a shrink bag to protect it on its journey to you.


